How to Ride an E-Bike: A Beginner's Guide for UK Riders
A step-by-step guide to riding an e-bike for the first time: setting up, using pedal assist, starting and stopping, and staying safe on UK roads.
The short answer
An e-bike is a bicycle with a motor that adds power while you turn the pedals. You still pedal, steer, change gear and brake exactly as you would on any other bike — the motor only makes each push of the pedals count for more.
On a UK-legal pedal-assist e-bike, the motor helps only while you are pedalling, and it stops assisting at 15.5 mph (25 km/h). So the first ride is really about getting used to two new things: extra weight and a push from standstill. Everything else you already know from riding a bike.
What you need before your first ride
- The bike
- A UK-legal pedal-assist e-bike: 250 W motor, assistance cutting out at 15.5 mph (25 km/h), no throttle unless the model is type-approved
- Battery
- Charged, clicked firmly into its mount and showing a full or near-full readout
- Helmet
- Correctly fitted and sitting level; not a legal requirement in the UK, but strongly advised
- Clothing
- Close-fitting trousers or ankle bands, and nothing loose that could catch in the chain or wheel
- Lights and reflectors
- Working front and rear lights if you will be out at dusk, dawn or in poor visibility
- Lock
- A sturdy lock if the bike will be left anywhere — e-bikes are heavy and desirable
Check that the bike is legal and roadworthy before anything else. Look for a motor rated at 250 W, a label confirming a 25 km/h cut-off, and assistance that starts only when you turn the pedals. If you bought second-hand, do not take the seller's word for it.
Pre-ride set-up: five checks
Set your saddle height
Stand beside the bike: the saddle should sit roughly level with your hip. Then sit on it and put your heel on a pedal at the bottom of the stroke — your leg should be almost straight, with a slight bend. A saddle that is too low wastes your effort and strains your knees.
Check the tyres and brakes
Pump the tyres to the pressure printed on the sidewall. Spin each wheel and squeeze the brake lever hard: the wheel should stop well before the lever reaches the handlebar. Check that the pads still have material left.
Charge and fit the battery
Charge with the charger supplied with the bike until it shows full, then click the battery into its mount and check it does not rock. A loose battery can cut out mid-ride.
Learn the controls before you move
Find the power button, the assist buttons, the display and the walk-assist button, then sit on the bike and press each one. Switch the lights on and off. Knowing where they are stops you fumbling at a junction.
Start in a gear you can turn
Leave the chain on a small front ring and a large rear sprocket, or a low gear on a hub-geared bike. You should be able to turn the pedal from a standstill without rocking the bike sideways.
Your first ten minutes on the bike
Find a traffic-free space
An empty car park, a flat park path or a quiet cycle track. You want smooth, level ground and plenty of room to stop without worrying about cars.
Ride with the power off
Two or three laps, braking early and deliberately. The bike will feel heavier and slower to turn than you expect — that is normal, not a fault.
Switch to the lowest assist level
Pedal away and notice when the motor joins in. On most bikes it takes about a quarter turn of the pedals. Do not fight the push; let it do its job.
Work up through the levels
Ride the same stretch in each assist level in turn. You will feel the power arrive earlier and stronger at the top level. Most riders settle a level or two below maximum for everyday riding.
Practise slow turns and braking
Ride a figure of eight at walking pace, then try a controlled emergency stop: both brakes together, weight back, arms braced. Do it somewhere with nothing to hit.
Try a gentle hill
Climb it twice — once on a low assist, once on a high one. Use a lower gear than you think you need and keep the pedals turning all the way up.
Starting, stopping and pulling away
- Pull away with the pedal at about two o'clock. Press down firmly and let the motor catch up. On a high assist level the first push can be abrupt, so start low at junctions.
- Brake with both levers together. The front brake does most of the stopping, but grabbing it alone on gravel or wet paint will put you down.
- Drop to a low gear while you are still rolling. Trying to shift after you have stopped means pulling away in a gear the motor has to fight.
- Put your foot down before you come to a halt, not after. The bike is heavy enough to catch you out if it starts to lean.
- Use walk assist for pushing, not riding. It is designed to help you wheel the bike up a ramp or through a tight gateway at walking pace; never press it with your feet off the ground.
- Restarting after a stop: some motors need a full pedal revolution before they pick up. Give yourself a metre of clear space before pulling out into traffic.
Using gears and the motor together
Gears are for your legs; assist is for the weight of the bike and the terrain. Use lower gears than you would on a normal bike and spin the pedals at a comfortable rate. Grinding a big gear with the motor on full power drains the battery and puts strain on the drivetrain.
- Change down before a hill, not on it. The motor keeps pushing while you shift, so ease off the pedals for half a turn as you change.
- Match the assist to the job: level one on the flat, a mid level for headwinds and gentle climbs, maximum only for steep hills or a heavy load.
- Above 15.5 mph the motor stops helping. On a downhill or with a strong tailwind you are riding a heavy normal bike, so plan your braking earlier.
- Do not shift under full motor power, and do not stamp on the pedals from a standstill in a high gear.
Your first rides on real roads
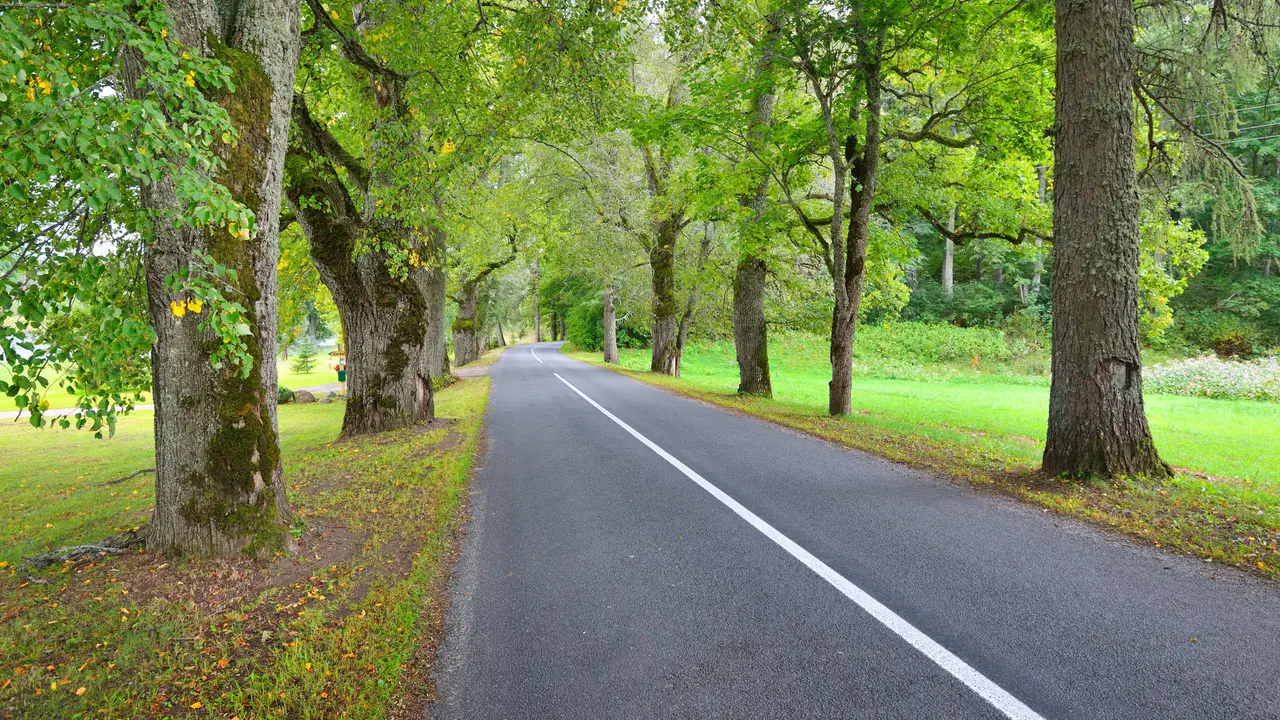
Pick a route you already know and ride it at a quiet time of day. An e-bike is a bicycle in law and in traffic: you have the same right to the road and the same responsibilities.
- Ride a door's width out from parked cars, and do not hug the kerb — you will be harder to see and you will have nowhere to go when a drain cover appears.
- Take the lane at junctions and narrow sections. The bike's weight means you need more room and more time to stop.
- Signal early and look before you move. Drivers often misjudge how quickly an e-bike accelerates away from lights.
- Leave a bigger gap than you would on a normal bike. The extra weight adds metres to your stopping distance, especially in the wet.
- Watch for wet drain covers, painted lines, tram tracks and gravel — all worse on narrow, heavy tyres.
Hills, headwinds and heavier loads
Climbing is where an e-bike earns its keep, but technique still matters. Drop two or three gears before the gradient steepens, stay seated and keep a steady cadence. Standing up and mashing the pedals wastes energy and can make the motor cut in and out.
In a headwind, lower your body a little, pick a mid assist level and be patient — the motor is working against the same wind you are. If you are carrying panniers or shopping, add a little more assist and allow longer to brake. Do not hang bags from the handlebars; they make the steering unpredictable on a bike that is already heavy.
Charging and looking after the battery
The battery is the most expensive part of the bike, and most of the care is simple.
- Use the charger that came with the bike, and plug it into a socket you can see.
- Charge at room temperature, not in a freezing shed. Let the battery warm up before charging if you have ridden in the cold.
- Do not charge a battery that has been dropped, punctured or is showing damage. Have it checked first.
- Unplug when the charger shows full. Do not leave it plugged in for days.
- If you will not ride for a few weeks, do not leave the battery completely flat. Store it part-charged in a dry place.
What commonly goes wrong — and how to fix it
| What you notice | Likely cause | What to do |
|---|---|---|
| The bike lurches when you pull away | High assist level plus a gear that is too tall | Drop to assist level one and change down before you set off |
| Assistance cuts in and out | Unsteady pedalling, or a dirty or misaligned pedal sensor | Keep a smooth cadence; clean the sensor and check it sits close to the magnet |
| Range drops sharply | High assist, soft tyres, hills, cold weather, extra weight | Lower the assist, top up the tyres and plan a shorter route until you know the bike |
| Braking feels weak or vague | Worn pads or poorly adjusted brakes, plus the bike's extra weight | Have the brakes checked and allow more distance in the meantime |
| Wobbles at walking pace | Pedalling through tight turns and looking at the front wheel | Coast through the turn, outside pedal down, eyes on where you are going |
| Motor will not restart after a stop | Crank not in the right position, or the system has timed out | Turn the pedals a full revolution; switch off and on again if it stays dead |
Motor and battery faults are not a DIY job. If the bike cuts out repeatedly, smells hot or the battery will not hold charge, stop riding and take it to a qualified e-bike mechanic. Do not open the battery casing or the motor yourself.
Safety and legal essentials
- A legal e-bike in the UK has a 250 W motor, assists only when you pedal, and cuts out at 15.5 mph. Anything else is a different vehicle with different rules.
- Helmets are not compulsory for adults in the UK, but they are sensible on a bike that is heavier and quicker away from the lights than you are used to.
- Lights and reflectors are a legal requirement after dark. Fit them before your first evening ride, not after it.
- Check whether your home insurance covers an e-bike, and whether it covers theft away from home. Standard policies often do not.
- Never ride on the pavement, and never carry a passenger on a rack or frame that is not designed for one.
Common questions about riding an e-bike
Do I need a licence or insurance to ride an e-bike in the UK?
No. A legal pedal-assist e-bike — 250 W, assisting only when you pedal, cutting out at 15.5 mph — can be ridden on the road without a licence, tax, registration or insurance, and you can ride one from the age of 14. Insurance is still worth having if the bike is expensive.
Will the battery recharge while I pedal?
Not in any useful way. Almost all e-bikes are charged purely from the mains; pedalling or braking downhill does not put meaningful charge back into the battery. Plan your route around the charge you have.
How far can I go on one charge?
There is no single figure — it depends on the battery, the assist level, hills, headwinds, your weight and the temperature. A cautious first ride on low assist is the best way to learn your own bike's range before you rely on it.
Can I ride an e-bike if I have not cycled for years?
Yes, and that is one of the main reasons people buy them. Start somewhere traffic-free, use the lowest assist, and build up to road riding over a few short trips.
Is riding an e-bike still exercise?
Yes. You are pedalling the whole time the motor assists, and you can turn the assist down or off to work harder. The motor reduces the effort, not the pedalling.
Related articles
How to Lock a Bike:
The Method That Actually Works
Lock your bike the right way: what to lock it to, the step-by-step D-lock method that stops thieves, and the common mistakes that get bikes stolen.
How to Teach Your Son
to Ride a Bike: Balance First
Balance first, pedals later: how to teach your son to ride a bike, from bike setup and the order of the steps to fixes for wobbles and fear.
How to Choose
a Cycling Helmet: Fit, Safety and Comfort
A practical guide to choosing a cycling helmet: measuring your head, checking fit and straps, understanding safety marks and knowing when to replace it.