How to Ride a Bike: A Step-by-Step Guide for Beginners
Learn to ride a bike from scratch as an adult or child: set the bike up, master balance without pedals, then add pedalling and safe stops.
The short answer
Riding a bike is a balance skill, not a pedalling skill — and most people who struggle are trying to learn both at once. The quickest route is to separate them. Take the pedals off, drop the saddle until both feet reach the ground, and spend your first session scooting and gliding on flat, traffic-free tarmac. Once you can coast with both feet off the ground and steer while you do it, pedalling is a short step.
Adults often get gliding within one or two sessions of 20–30 minutes, and are riding away and stopping under control a couple of sessions after that. Children vary far more: some crack it in an afternoon, others need weeks of short, cheerful goes. Neither is unusual.
What you need before you start
- Where to practise
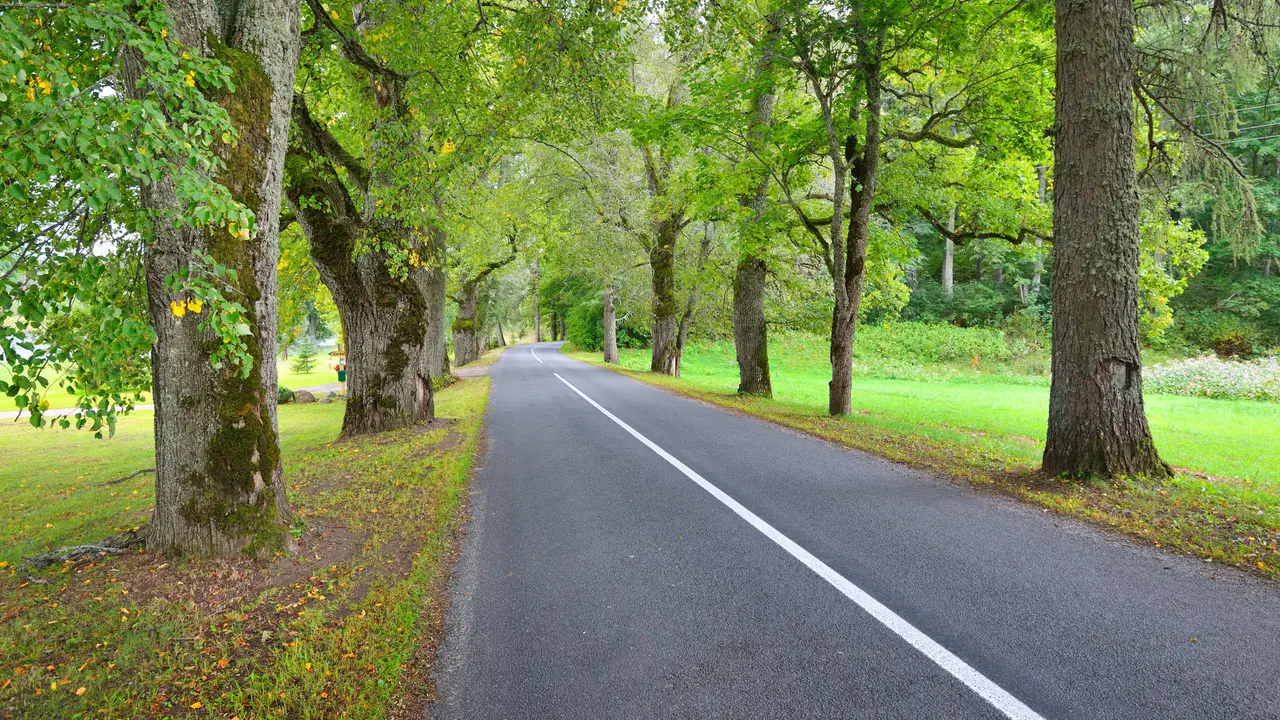
- Level, smooth tarmac with room to run off — an empty car park (with permission), a wide park path or a closed road
- The bike
- One that fits you, with two working brakes, firm tyres and a saddle that will go low enough
- Saddle height for learning
- Low enough that you can sit on it with both feet flat on the ground
- Helmet
- Not a legal requirement in the UK, but sensible while you are learning; it should sit level, two fingers above the eyebrows
- Footwear
- Closed shoes with flat soles; laces tucked in and trouser legs kept clear of the chain
- Session length
- 15–30 minutes, ideally several times a week rather than one long weekend
Before you leave the house, spend five minutes on the bike:
- Brakes. Squeeze each lever and watch the blocks meet the rim or the disc. Find out which lever works which brake before you set off — on most UK bikes the right-hand lever is the front brake. Test them at walking pace.
- Tyres. They should feel hard under your thumb. Soft tyres make steering heavy and vague.
- Chain and gears. Oiled and running quietly, not hanging off the chainring.
- Anything that can come loose. Quick releases, axle nuts, the saddle clamp, mudguards, a basket or rack.
- Position. Bars and saddle roughly level, everything pointing forward, nothing twisted.
The learning sequence, step by step
Drop the saddle
Lower it until you can sit on the saddle with both feet flat on the ground and your knees slightly bent. It will feel comically low and completely wrong for riding. It is temporary, and it is the single change that makes learning possible.
Take the pedals off
You need a 15 mm pedal spanner, or the hex key some cranks take. Watch the threading: the left pedal is reverse-threaded, so it undoes clockwise. Keep the two pedals apart and remember which side is which — they are not interchangeable.
Run a five-minute safety check
Brakes, tyres, chain, quick releases, saddle clamp. Check that the saddle does not twist and that the bars turn freely without any play.
Find the right surface
Flat, smooth, empty and firm. Grass is soft but lumpy, slow and much harder to balance on; gravel, wet leaves, kerbs and even a slight camber all add difficulty you do not need yet. A very gentle slope is fine as long as you can walk the bike back up easily.
Scoot before you glide
Sit on the saddle, both feet flat, and walk the bike forward in long strides. Look at where you are going, not at the front wheel. Do two or three lengths of this until the bike feels ordinary underneath you.
Glide
Push harder, lift both feet off the ground and let the bike roll until it slows, then put your feet down. Repeat. Each go should be a little longer. This is the whole skill in one movement — the rest is detail.
Steer while gliding
Once you are coasting comfortably, trace gentle S-curves. Lean the bike slightly rather than yanking the bars round, keep your shoulders down, and keep looking where you want the front wheel to end up.
Refit the pedals and pedal away
Put the pedals back on, raise the saddle to riding height, set one pedal at about the two o'clock position, push off and start turning. Look ahead, not down. Keep the first few goes short and straight.
Practise starting, stopping and turning
Now you can ride, the useful skills are the ones you actually use: pulling away cleanly, stopping where you meant to, and turning without wobbling. Ten minutes of each, in an empty space, beats an hour of riding up and down in a straight line.
Gliding: the part that does the work
Everything in this guide rests on the glide, so it is worth doing properly rather than rushing towards the pedals.
- Keep the balls of your feet on the ground when you push, not your heels, and put your feet down flat when you stop.
- Look five to ten metres ahead. Beginners who stare at the front wheel wobble, because the bike follows your eyes.
- Stay loose. Bent elbows, relaxed grip, shoulders away from your ears. A tense rider transmits every twitch straight into the steering.
- Let the bike slow down rather than grabbing the brakes. If you are running out of room, use both brakes gently and evenly, then put a foot down.
- Go for distance, not speed. A long, slow glide teaches balance; a fast one just teaches you to be frightened.
Adding the pedals back
Raise the saddle to riding height: with the pedal at the bottom of its stroke, your leg should be almost straight with a slight bend at the knee, and your hips should not rock as you pedal. If they do, the saddle is too high.
Start with one foot. Put that pedal at roughly the two o'clock position, press down firmly, and let the bike carry you for a couple of metres before you bring the second foot up. Many learners find it easier to set off pointing slightly downhill at first.
If you wobble the moment the second foot lands, drop the saddle a centimetre or two and try again. Confidence comes from the bike feeling stable, not from the saddle being racer-low.
Starting, stopping and turning safely
Starting. Pedal at two o'clock on your stronger leg, a firm push, and ride in a straight line for the first few metres before steering. Setting off while already turning is the usual cause of a first-day tumble.
Stopping. Use both brakes together and evenly — the front brake does most of the work, but a fistful of front brake on a wet or loose surface will lock the wheel. Slide your weight back a little, straighten the bars, and put a foot down as the bike stops. Pick your stopping point well ahead rather than braking late.
Turning. Look through the corner at where you want to go and let the bike lean gently. Don't brake in the middle of a turn. At low speed, keep the pedals level as you go round so the inside pedal does not dig into the ground — then pedal again on the way out.
What goes wrong, and the fix
| What happens | Usually because | What to do |
|---|---|---|
| Wobbles as soon as the feet leave the ground | Looking down at the front wheel | Fix your eyes on a point five to ten metres ahead and ride towards it |
| Bike feels twitchy and hard to hold in a line | Gripping the bars hard, arms locked straight | Soften the grip, bend the elbows, drop the shoulders |
| Can glide but freezes with the pedals on | Saddle back too high, or setting off with the pedal in the wrong place | Set the pedal at two o'clock, push harder, and lower the saddle a notch |
| Falls to one side on every start | Not enough push before the first full pedal turn | Push off for two metres first; speed is what keeps a bike upright |
| Pedal scrapes the ground in a corner | Still pedalling through the turn | Level the pedals through the corner, resume on the way out |
| Front wheel skids under braking | Snatching the front brake, especially on damp or gritty tarmac | Both brakes together, progressive pressure, weight back |
| Getting more frightened each session | Too much at once, or a bike that is too big | Go back to scooting on a low saddle, on an empty surface, for shorter sessions |
| Aching hands, neck and lower back | Reach too long or bars too low for a new rider | Raise the bars or shorten the reach before your next go |
Staying safe while you learn
- Fit the helmet properly. Level on the head, front edge two fingers above the eyebrows, straps forming a V just under the ears, and tight enough that it does not shift when you shake your head.
- Wear something visible. A bright top or hi-vis layer helps in a car park, and lights if the light is flat or fading.
- Scan the surface. Kerbs, drain covers, painted lines in the wet and loose grit are all slippery or trippy, and all of them arrive faster than you expect when you are concentrating on your feet.
- Nothing dangling. Laces, long coats and baggy trouser legs catch in chains and cranks. Tie and tuck.
- Tell someone where you are, and keep a phone in a pocket rather than a basket.
- Expect a scrape or two. Gloves take the sting out of grazed palms, and knee-length shorts or trousers protect more than you would think.
Teaching a child to ride
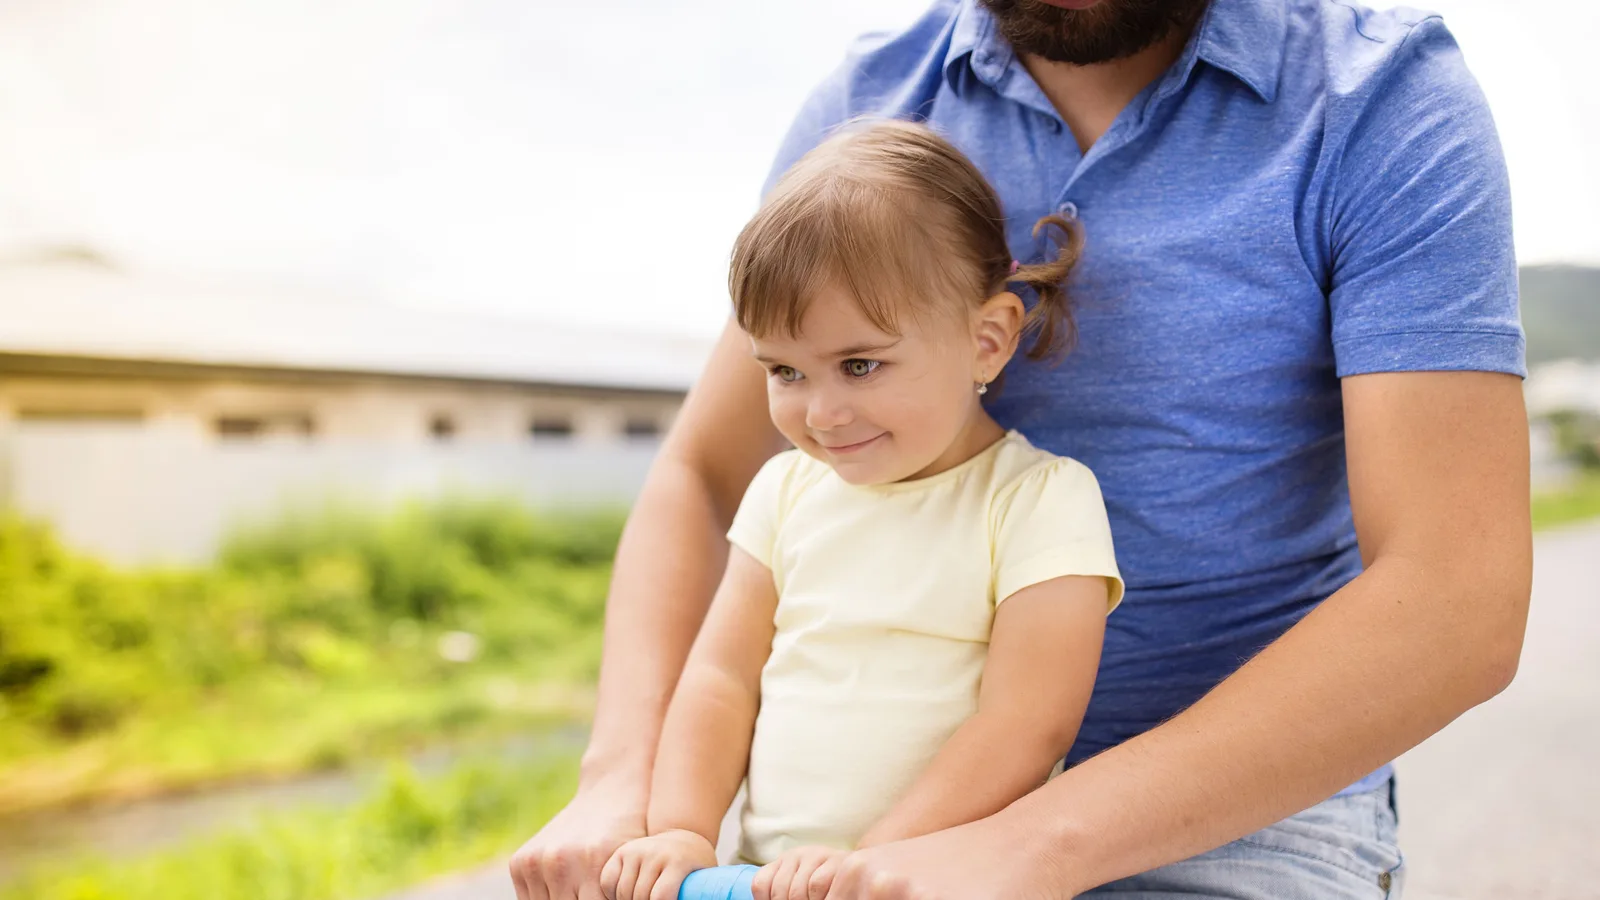
The principles are identical, but the bike needs to fit the child: sitting on the saddle, both feet should be flat on the ground, and standing over the frame they should clear it with both feet flat.
A balance bike, or a normal bike with the pedals removed and the saddle dropped, does the same job. Stabilisers teach steering and pedalling but not balance, so a child who has relied on them still has to learn leaning from scratch later.
When you are helping, hold the back of the saddle or the child's shoulder rather than the handlebars — gripping the bars takes away the feedback they need to find their own balance. Run alongside, reduce the support as they get steadier, and stop the session while it is still fun. And check the brakes together on a child's bike: small hands often cannot reach or squeeze a lever set for an adult.
Common questions about learning to ride
Can I learn without taking the pedals off?
Yes, but it is slower. Lower the saddle as far as it will go and push along with your feet on the ground, keeping the pedals out of the way. Removing them just stops the cranks banging your shins while you concentrate on balance.
Is it easier to learn on grass?
Grass is softer to fall on but lumpy, slow and draggy, which makes balancing harder and pedalling exhausting. A flat tarmac surface gives you more time to react; a smooth park path is a good compromise.
How do I know if a bike is the right size for me?
You should be able to stand astride the frame with both feet flat on the ground and some clearance over the top tube, and reach the bars without locking your elbows. For learning, the saddle must go low enough for both feet to touch the ground.
Do I have to wear a helmet in the UK?
No — there is no law requiring cyclists to wear helmets on public roads in the UK. It is still a sensible choice while learning, and a badly fitted helmet is worse than useless, so set the straps and position properly.
Should I take the pedals off a child's bike too?
It works well, provided the saddle drops far enough for both feet to be flat on the ground. A dedicated balance bike achieves the same thing with less faff, and children who start on one usually move to pedals quickly.
How do I stop the bike from wobbling at slow speed?
A bicycle is far more stable with a bit of momentum. Push off firmly, keep your eyes up the path and pedal steadily rather than coasting and dithering. If you need to go slowly, keep the pedals level and use both brakes gently.
Related articles
How to Lock a Bike:
The Method That Actually Works
Lock your bike the right way: what to lock it to, the step-by-step D-lock method that stops thieves, and the common mistakes that get bikes stolen.
How to Teach Your Son
to Ride a Bike: Balance First
Balance first, pedals later: how to teach your son to ride a bike, from bike setup and the order of the steps to fixes for wobbles and fear.
How to Choose
a Cycling Helmet: Fit, Safety and Comfort
A practical guide to choosing a cycling helmet: measuring your head, checking fit and straps, understanding safety marks and knowing when to replace it.